
When the walls are empty, people often don’t think much about them.
It’s not until one day, when the sound of a dart falling echoes in the room, that they realize space can actually be “activated.”
More and more gamers are realizing that dart boards are not just a gaming tool; they are also part of the wall’s visual appeal and an element of the home’s ambiance. Instead of simply hanging it up, why not go all out and integrate functionality, safety, and aesthetics onto the same wall?
This DIY guide will cover the complete process of DIY dart board setup, from installation logic and wall protection to decoration ideas and space coordination, helping you to create a truly “long-lasting” dart board environment yourself, rather than a temporary solution.
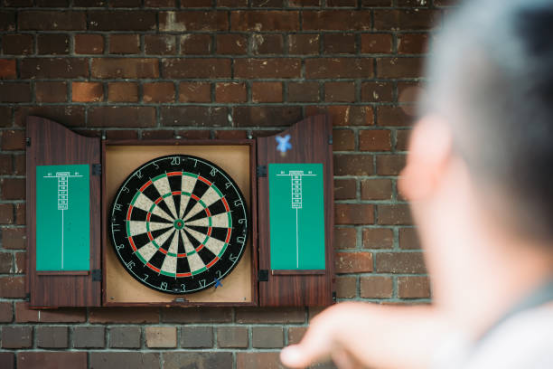
Before you get started, understand the relationship between the dart board and the wall.
Many installation failures are not due to technical issues, but rather to misjudging the role of the wall surface.
A dart board is not a decoration that can simply be “stuck on and done.”
It requires at least three different wall surfaces:
- Load bearing and stability
- Protection under repeated impacts
- Coordination of visual center
In sharing experiences with dart wall installation, the most common regret is:
“If only I had planned the wall layout first.”
Installation height and line of sight
Standard height is only a reference; what is more important is the user’s natural line of sight.
When the dart board is positioned slightly below eye level, the throwing motion is more relaxed, and there is less shoulder strain.
This is why many families readjust the height after using it a few times.
Allowing for fine-tuning during the DIY stage is more practical than fixing it all at once.
Wall material determines installation strategy
Different wall surfaces necessitate completely different fixing methods:
- Solid walls: stable, but require precise positioning.
- Gypsum board: stress distribution must be considered
- Wood or decorative panels: visually appealing, but prone to warping over time.
Understanding these differences is the first step to a successful DIY dart board setup.
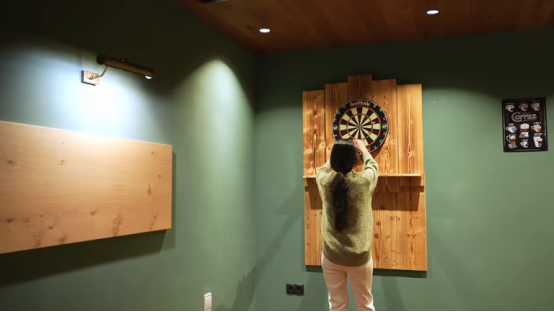
The bracket and mounting method determine the lower limit of the user experience.
The support structure is often underestimated.
But in the long run, it accounts for almost half of the stability of a dart board.
The core logic of wall mount brackets
Good support is not just about “being able to hold,” but about being able to:
- Uniform force distribution
- Does not vibrate when thrown
- Convenient for fine-tuning
In many users’ experiences, the problem is not with the Dart itself, but with the board wobbling slightly during use, affecting the feel and accuracy.
Common Misconceptions about DIY
- Only a single fixed point
- Ignoring the internal structure of the wall
- No buffer layer reserved
These problems may not be obvious in the short term, but they often erupt in a concentrated manner after a few months.
Dart board enthusiasts share their home décor experiences; they often emphasize one detail:
“Make the board look like it’s ‘grown on the wall,’ rather than ‘hanging on the wall.'”
Wall protection is more important than you think.
Once you actually start using the dart board, the importance of wall protection will be rapidly amplified.
Especially in a home environment, it is impossible to completely avoid a dart deviating from the target area.
How large should the protected area be?
A practical rule of thumb is
to leave at least 30–50 centimeters of protection around the dart board.
This is not for “extreme mistakes,” but for the psychological security of long-term use.
Trade-offs among common protection schemes
In a DIY dart board setup, common protection strategies include
- cork or fiberboard
- Replaceable decorative panels
- Fabric or composite materials
The difference between each solution lies not only in the materials but also in the visual presentation.
Some players have reported that a suitable protective layer can actually become a visual highlight of the room, rather than a “necessary patch.”
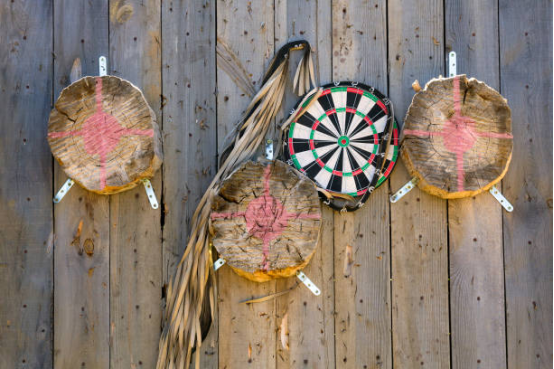
Integrate the dart board into your home; don’t ruin it.
This step often determines whether you are willing to use it long-term.
Dart board home décor is not about “looking like a bar,” but about being consistent with the existing spatial language.
The harmony of colors and materials
If the room is mainly decorated with wood and warm colors,
A cool-toned, metallic installation scheme can easily look out of place.
Conversely, when wall decorations echo the materials of furniture, the dart board blends naturally into the environment rather than becoming an “outsider.”
Lighting is the most easily overlooked bonus element.
Appropriate local lighting can significantly enhance the user experience.
- Reduce shadows
- Improve focus
- Strengthen visual center
Many successful dart wall installation projects focus more on lighting rather than simply emphasizing the board itself.
Real feedback and adjustment strategies from the user’s perspective
When summarizing DIY experience, a recurring point is:
“The first installation is almost never the final version.”
Common secondary adjustments include:
- Repositioning height
- Increase protection scope
- Optimize lighting angle
This is not a failure but a normal part of the DIY process.
From functional walls to part of living scenarios
Once the dart board is truly integrated into the space, its role will change.
It’s no longer just something that “only exists when you’re playing.”
but rather becomes part of the room’s rhythm.
Some people see it as a stress-relieving corner.
some as a social hub,
and others simply appreciate the “wall that is taken seriously.”
The point of DIY is not to save money
The real value of a DIY dart board setup is not cost savings.
Rather, you know clearly:
- Why is this wall designed this way?
- Whom does every detail serve?
- How can we further optimize it during use?
When a dart board is no longer a temporary tool but a carefully planned spatial element, the experience it brings often exceeds expectations.
Perhaps we can ask in return:
If a wall is seen every day, why not make it both functional and aesthetically pleasing?